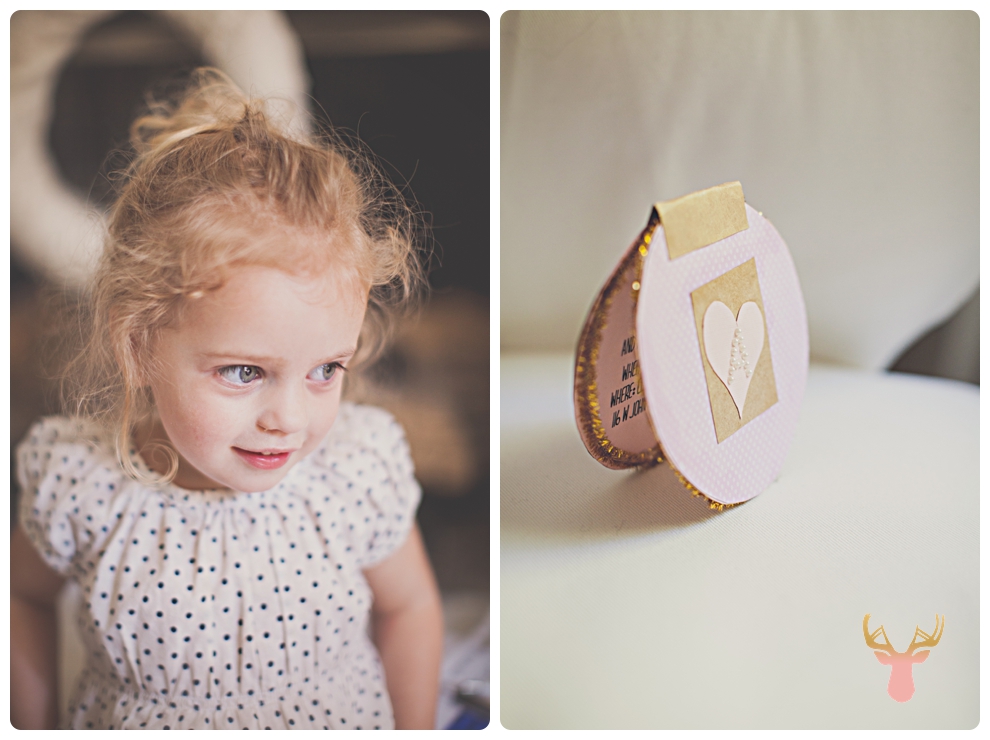
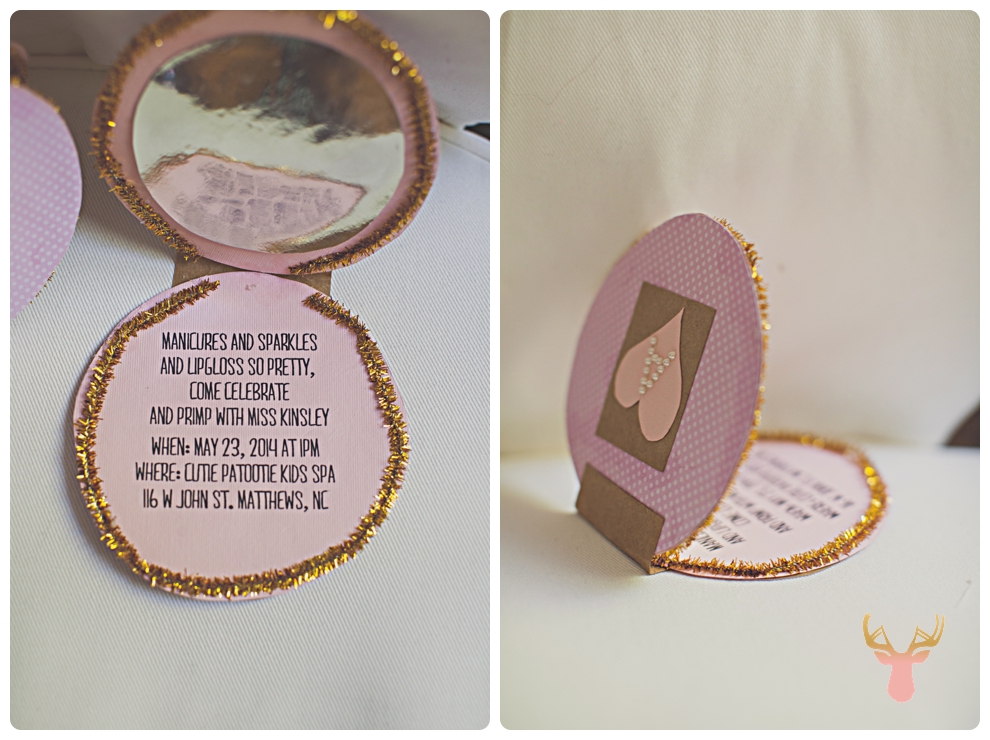
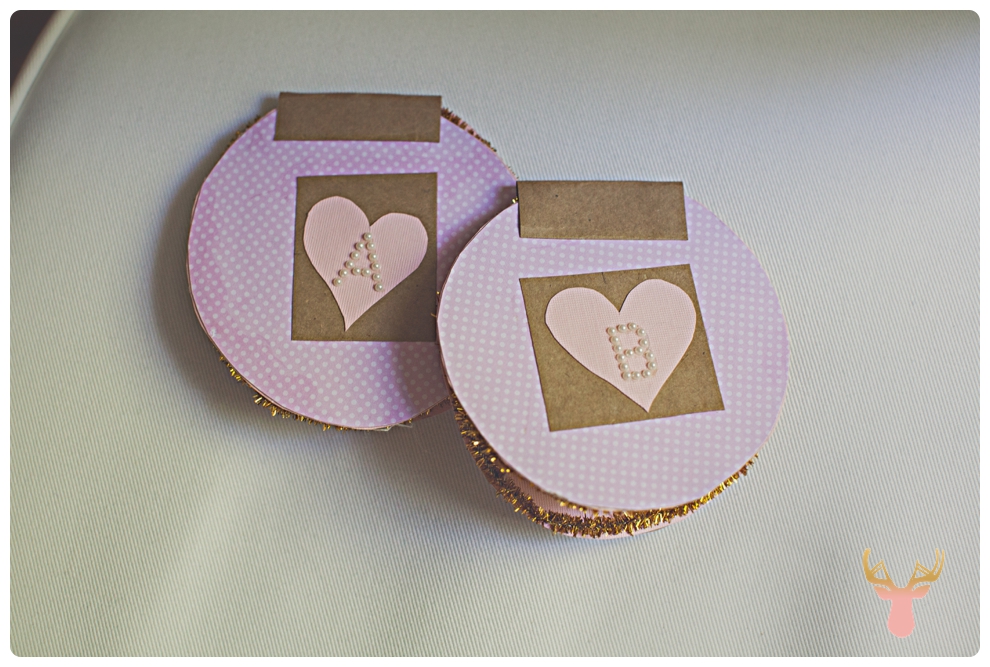
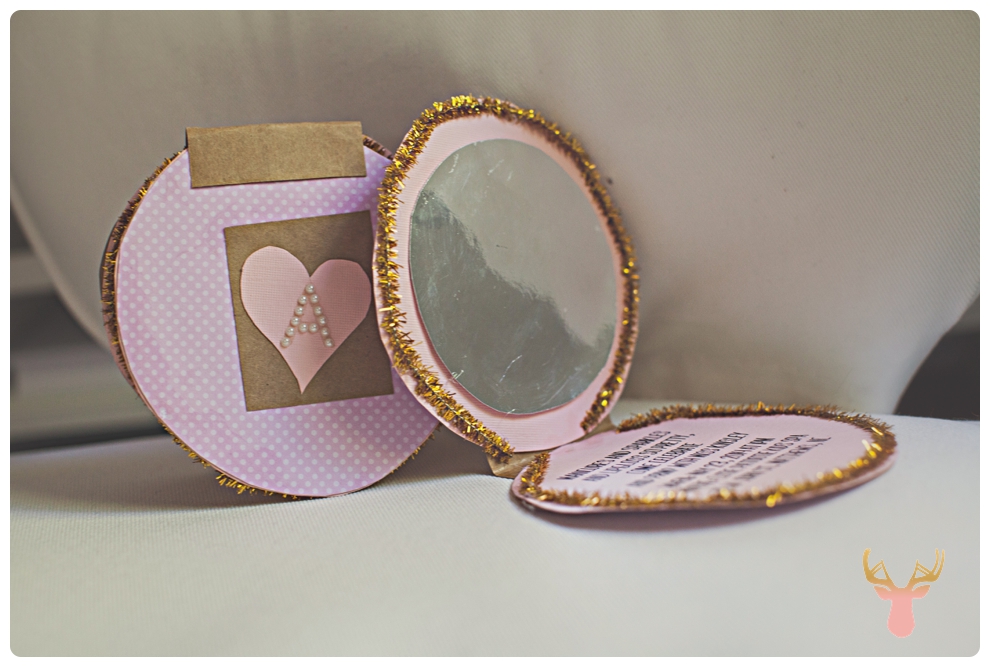
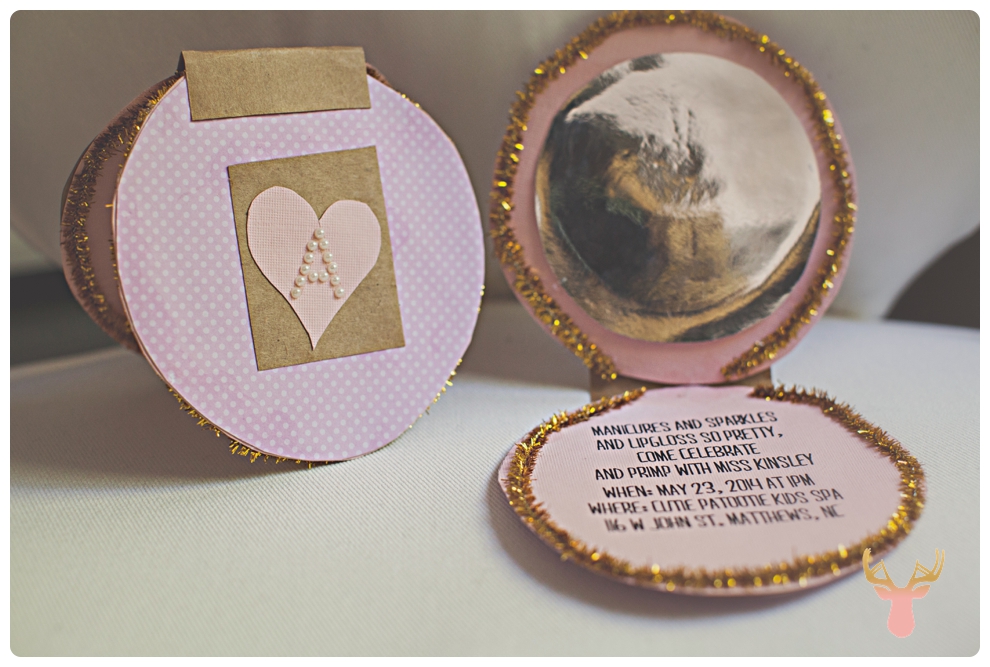
This year, since Kinsley is not in school, we figured we would have a low-key party. We decided to take her and 2 friends to a kid’s spa in matthews near our house. I searched pinterest for ideas but I could’t find anything I liked, much less for a toddler turning 3. Most were geared toward 6 year olds. That might say something about the trouble I might be getting into trying to get 3 three year olds to sit still while having their nails and toes painted. Oh well, we shall see. Anyway, here are the compact invites and a tutorial on how to recreate (in your own way of course).
Step 1: Gather Materials- I got everything at hobby lobby (in the scrapbook section) for the most part and then found some additional add-ons (pipe cleaners and pearl letters) in my craft drawer. This was enough to make 2 invites.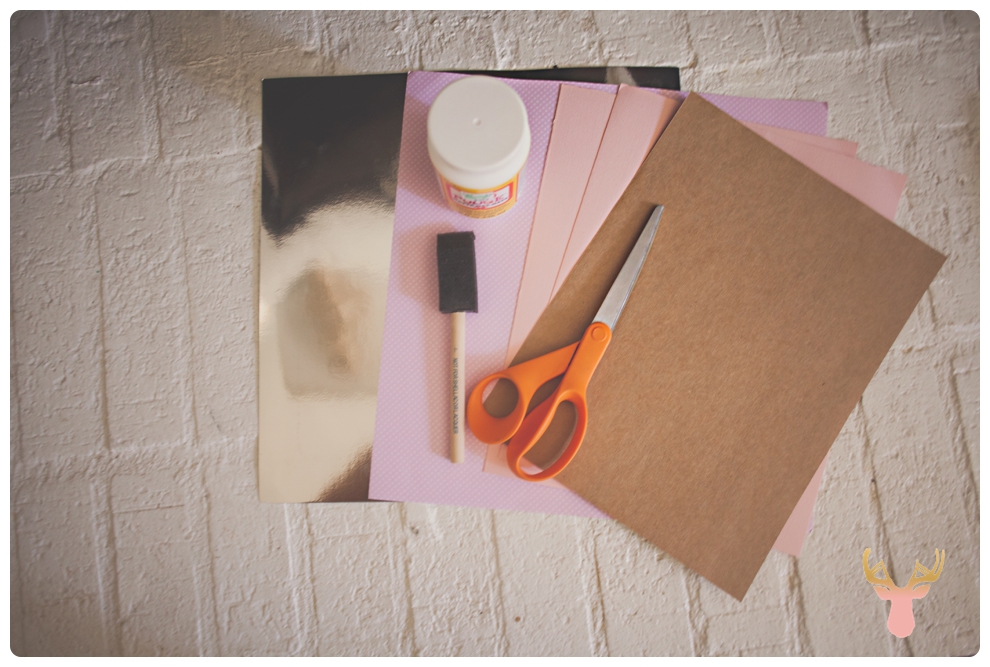
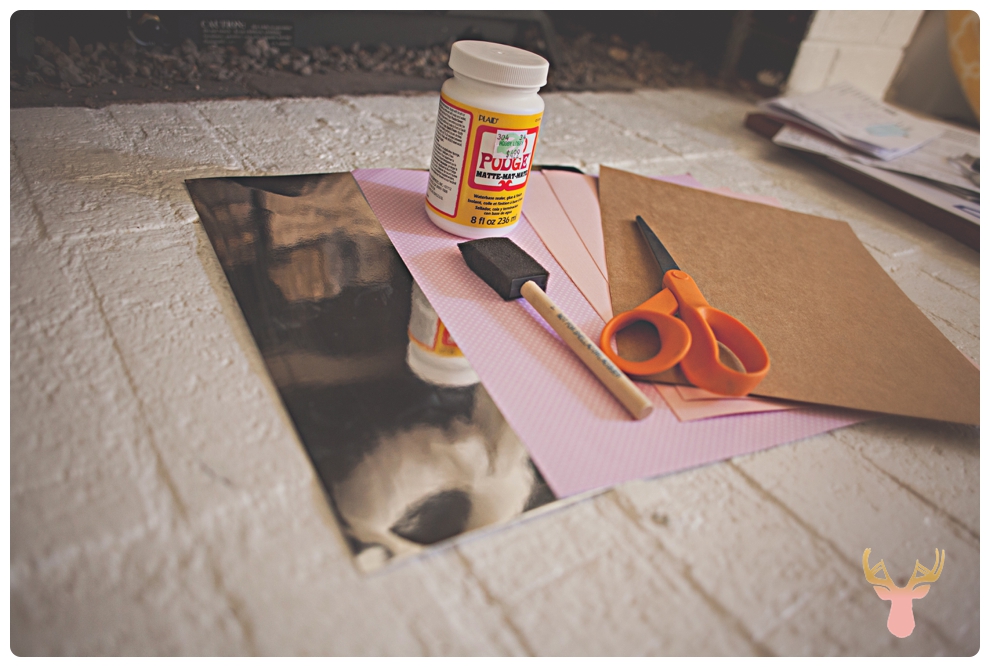
Step 2: Cut Squares of equal sizes. You will need a piece of colored paper for the top and bottom, 2 pieces of sturdy card board paper to layer in between, and 1 piece of mirror paper. Totaling 5 pieces per invite. Leave the paper chosen for the inside uncut. 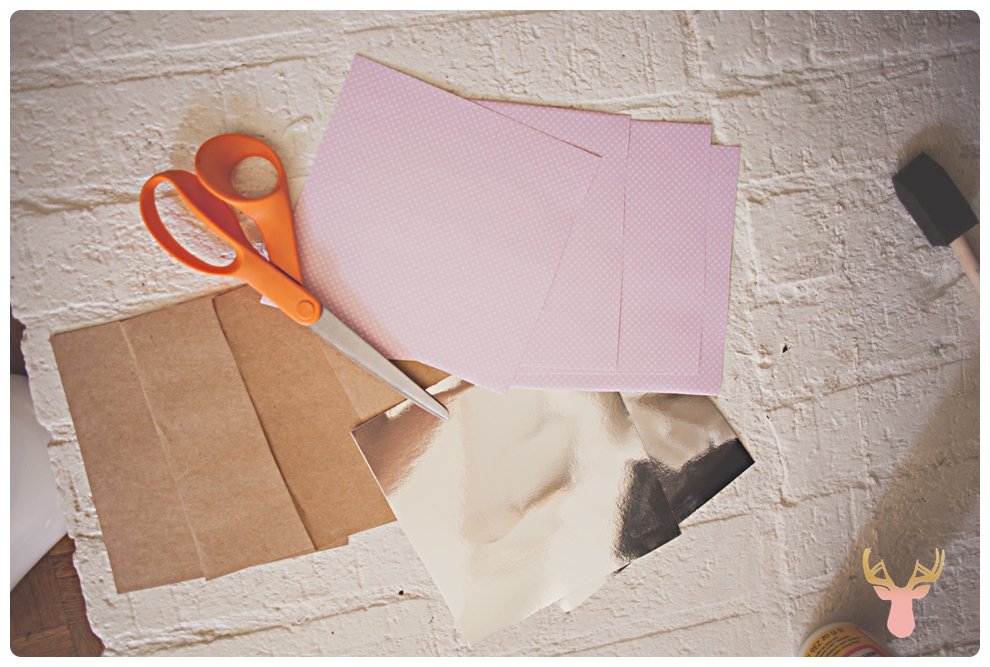
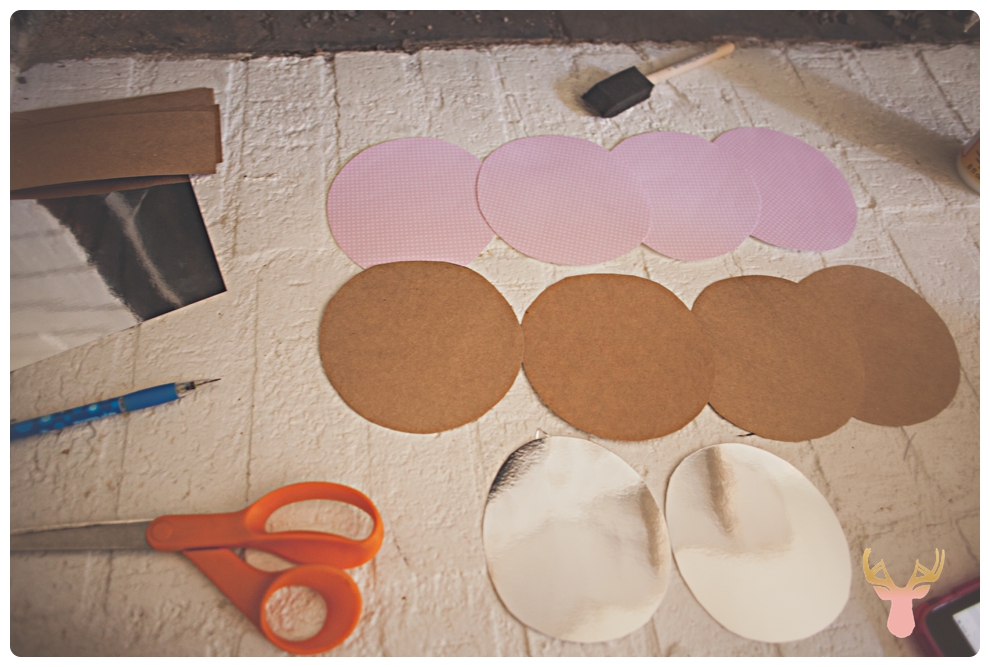
Step 3: Cut circles out of the pieces chosen for top, bottom, cardboard/ kraft paper, and mirror. I used a can of protein powder to trace my circles. Leave the paper chosen for the inside uncut. You will save it as a full sheet of paper to print your invite words on. After printed, that piece will be traced and cut.
Glue the top to the kraft paper. Glue the bottom to the kraft paper. You should have 2 separate pieces now. Then cut the mirror a little smaller than your other circles. After gluing the inside top together, glue on the mirror part.
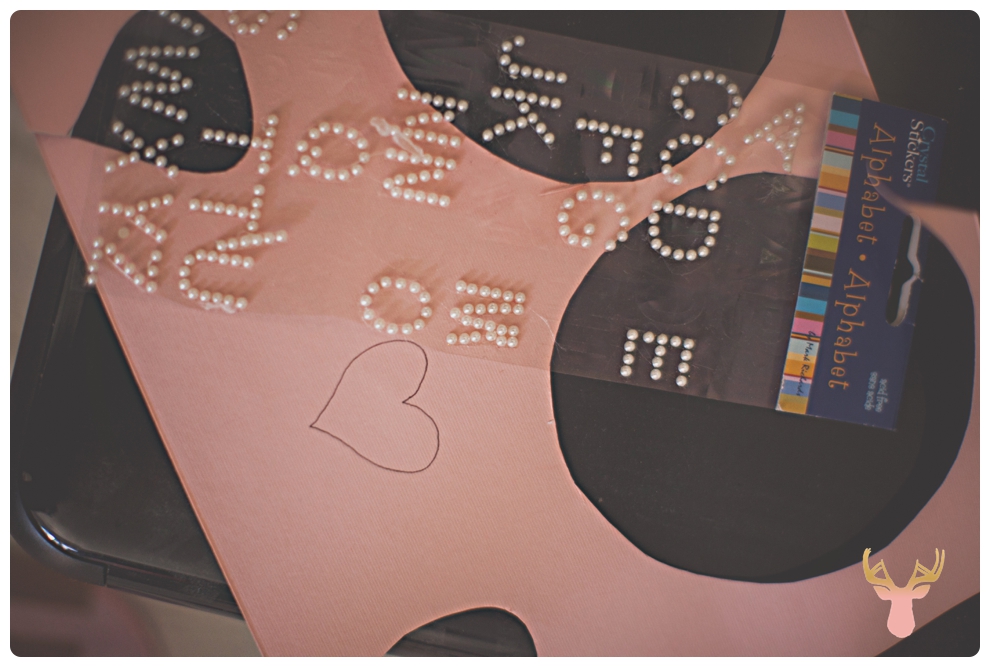
Step 4: I drew a heart and cut that out for the outside top of my compact. I chose to “monogram” the compact for the girl invited with some pearl letters I had left over from another project.
Step 5: Type and Print whatever you want it to say on the inside of your compact. Print it on the same paper you used for the inside top (behind the mirror) or whatever you choose. Print THEN trace around the text and cut it out. Glue it to the bottom inside of the compact.
To connect the top of the compact to the bottom of the compact, I cut out a rectangle shape from the sturdy kraft paper. I folded it and glued it to my compact, making sure to position it so the text could be read when opened. I propped it up against something OPEN until it dried.
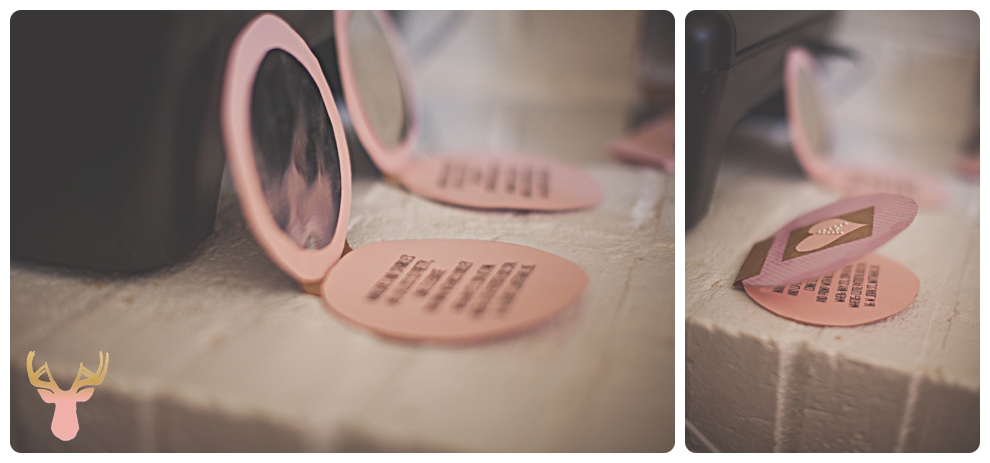
Step 6: I thought it lacked something.. so I looked in my craft drawer and found some gold pipe cleaners. I thought about glitter.. but I wanted to avoid it getting everywhere, so these pipe cleaners were the perfect addition of something sparkly without all the mess. I hot glued them on and called it a day.
